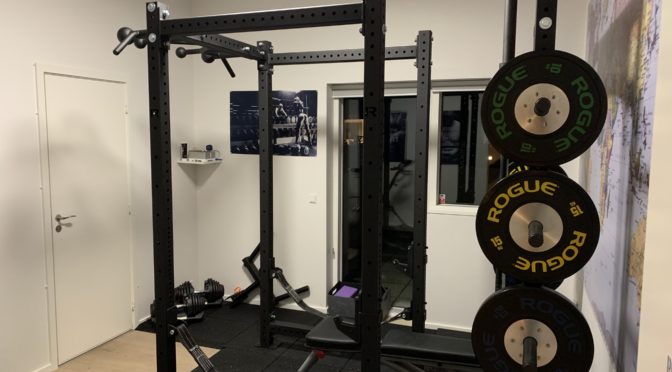
So I’ve recently moved from Switzerland to Denmark, and one of the big advantages I saw to the move (aside from career opportunities, cheaper prices and being closer to the in-laws) was the ability to have a house big enough to include a home gym (ok, that kind of blends in with cheaper prices after all). Since I moved 3 months after I signed the contract, I had quite some time to plan everything out and to get it just the way I wanted, within the constraints of the house we selected. The following text and pictures are the illustrated log of me building out that room, which took about 2 man-days spread across 9 calendar days, as my role doesn’t allow much free time during the work week.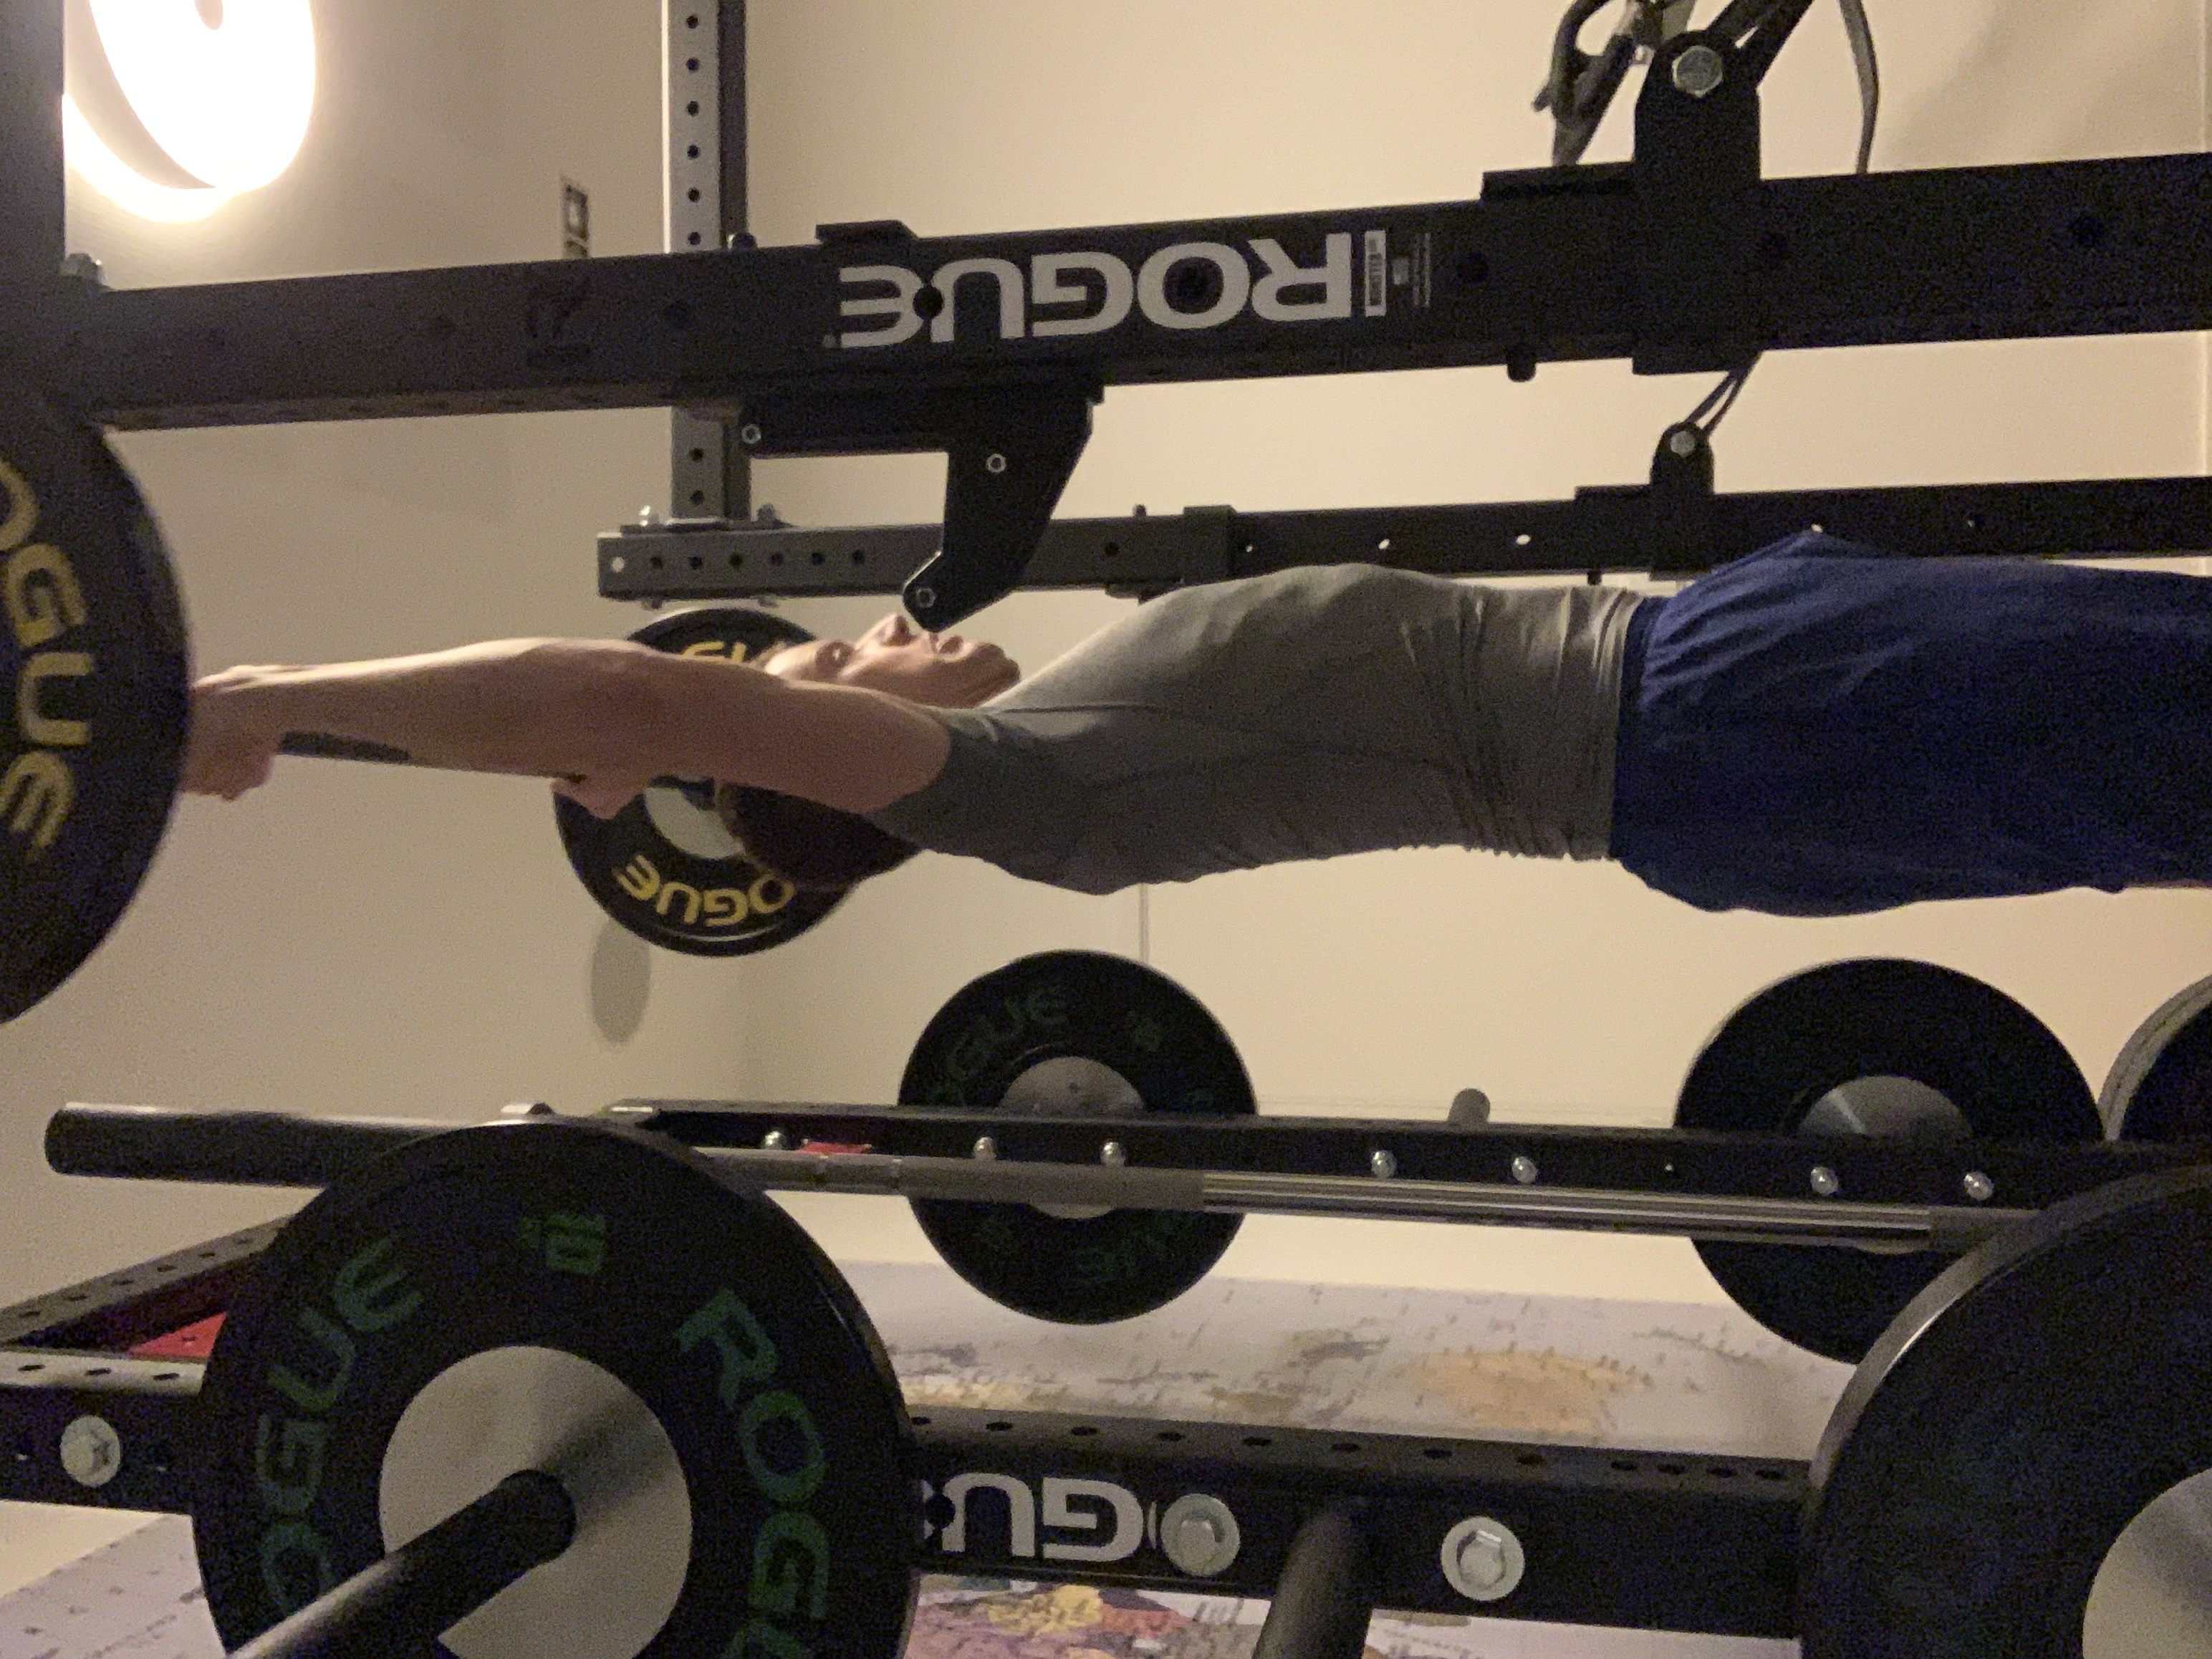
The first thing to highlight is the equipment I selected. Some pieces I’ve had for a while, since before I knew much about lifting iron (or rubber). For example, the Bowflex Selecttech dumbbells, one of which is currently broken, were from several years ago. The bench was the same, and both of those will be on my near-term replacement list. The Keiser M3i stationary bike, on the other hand, is a pretty good piece of kit that I’ve also had for a few years but don’t use much – it’s great for warmups, though I prefer to run outside for my real cardio.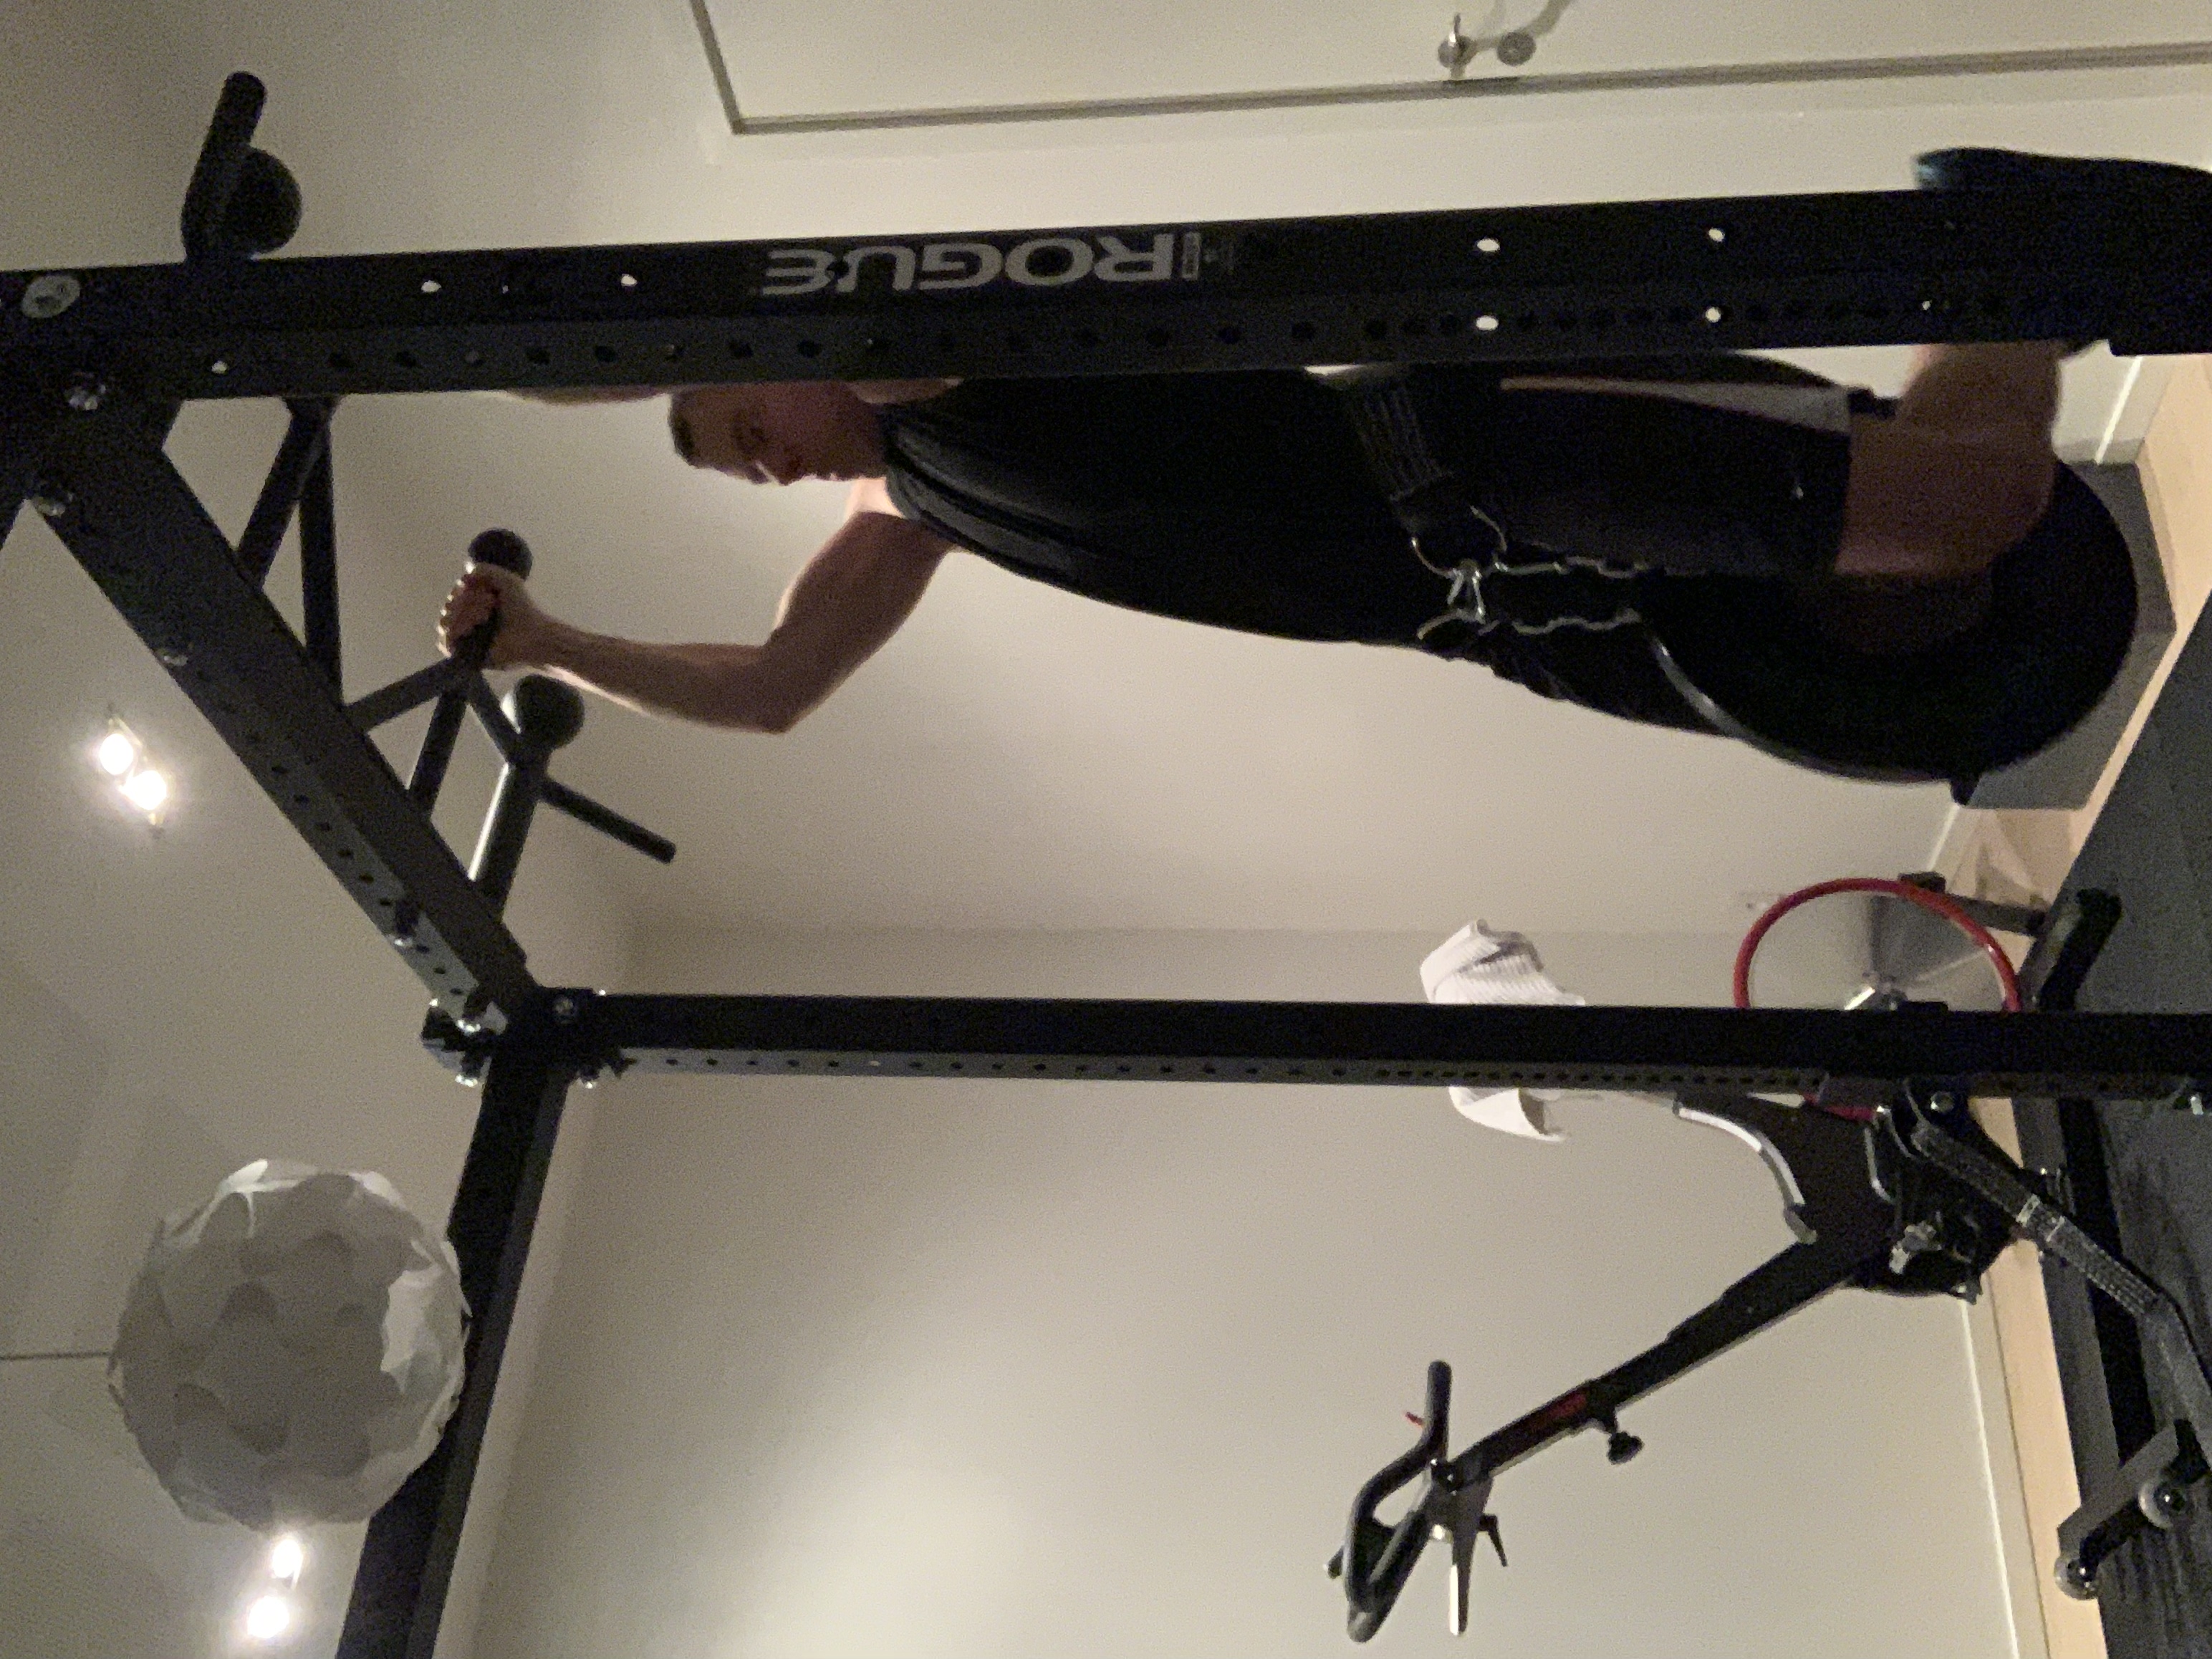
 The new stuff, and the heart of my gym, all came from one manufacturer – Rogue. I bought an RML-690 power cage, with a variety of accessories, from their European branch. I couldn’t get everything I wanted – for example, the monolift and bench are out of stock, and they anyway don’t stock the bench I really wanted on their European site, but I’ve gotten most of it. A couple of other pieces are still in shipment from their U.S. facilities. But I’m pretty happy with what I got. Here are some of the additional pieces (asterisk used to denote pieces that haven’t arrived yet):
- Crown pull-up bar (for grip strength improvement and because it offers more angles for pull-ups)
- Sandwich J-cups, because I wanted the protection for my bars
- Chan bar (sweet!) in cerakote
- Bella 2.0 bar (for the missus, and maybe me for some exercises?) in cerakote
- Safety straps – not sure whether I like them or not, but I figured it’d cut down on the noise when I set the weight down
- Aluminum USA collars*
- Matador (for dips)
- Dip belt
- Deadlift belt*
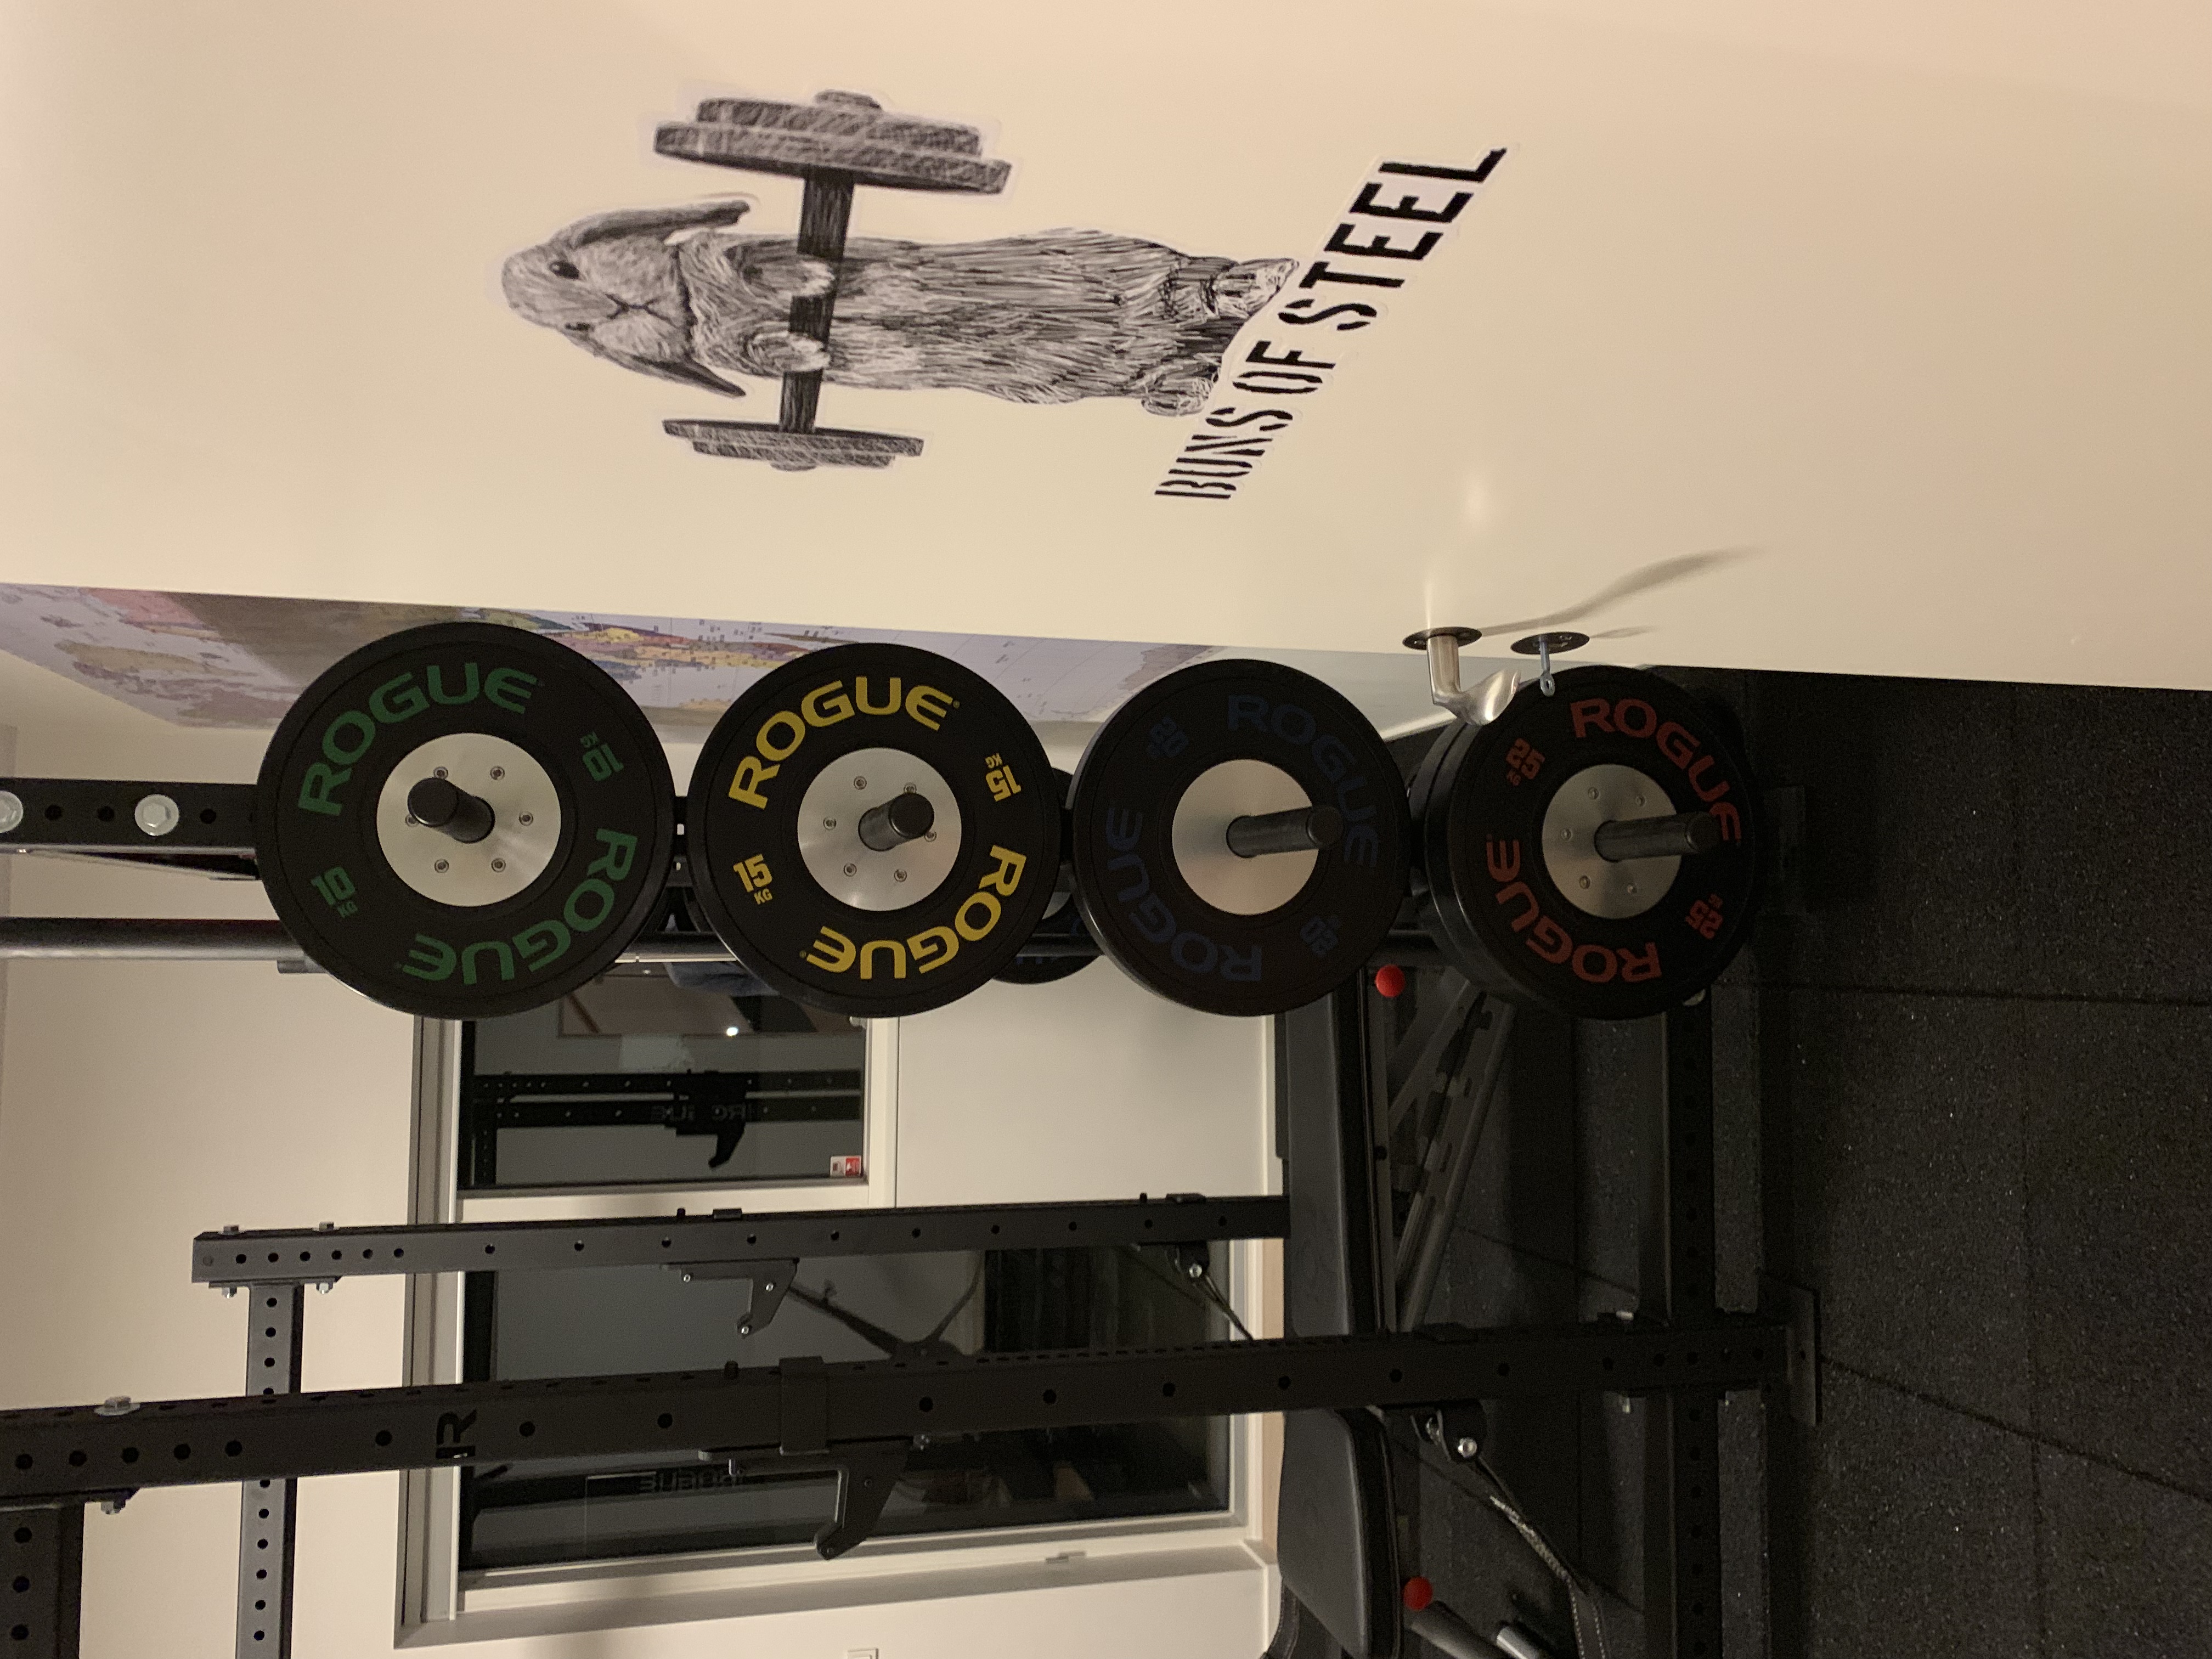
- KG Training 2.0 plates (also pretty sweet)
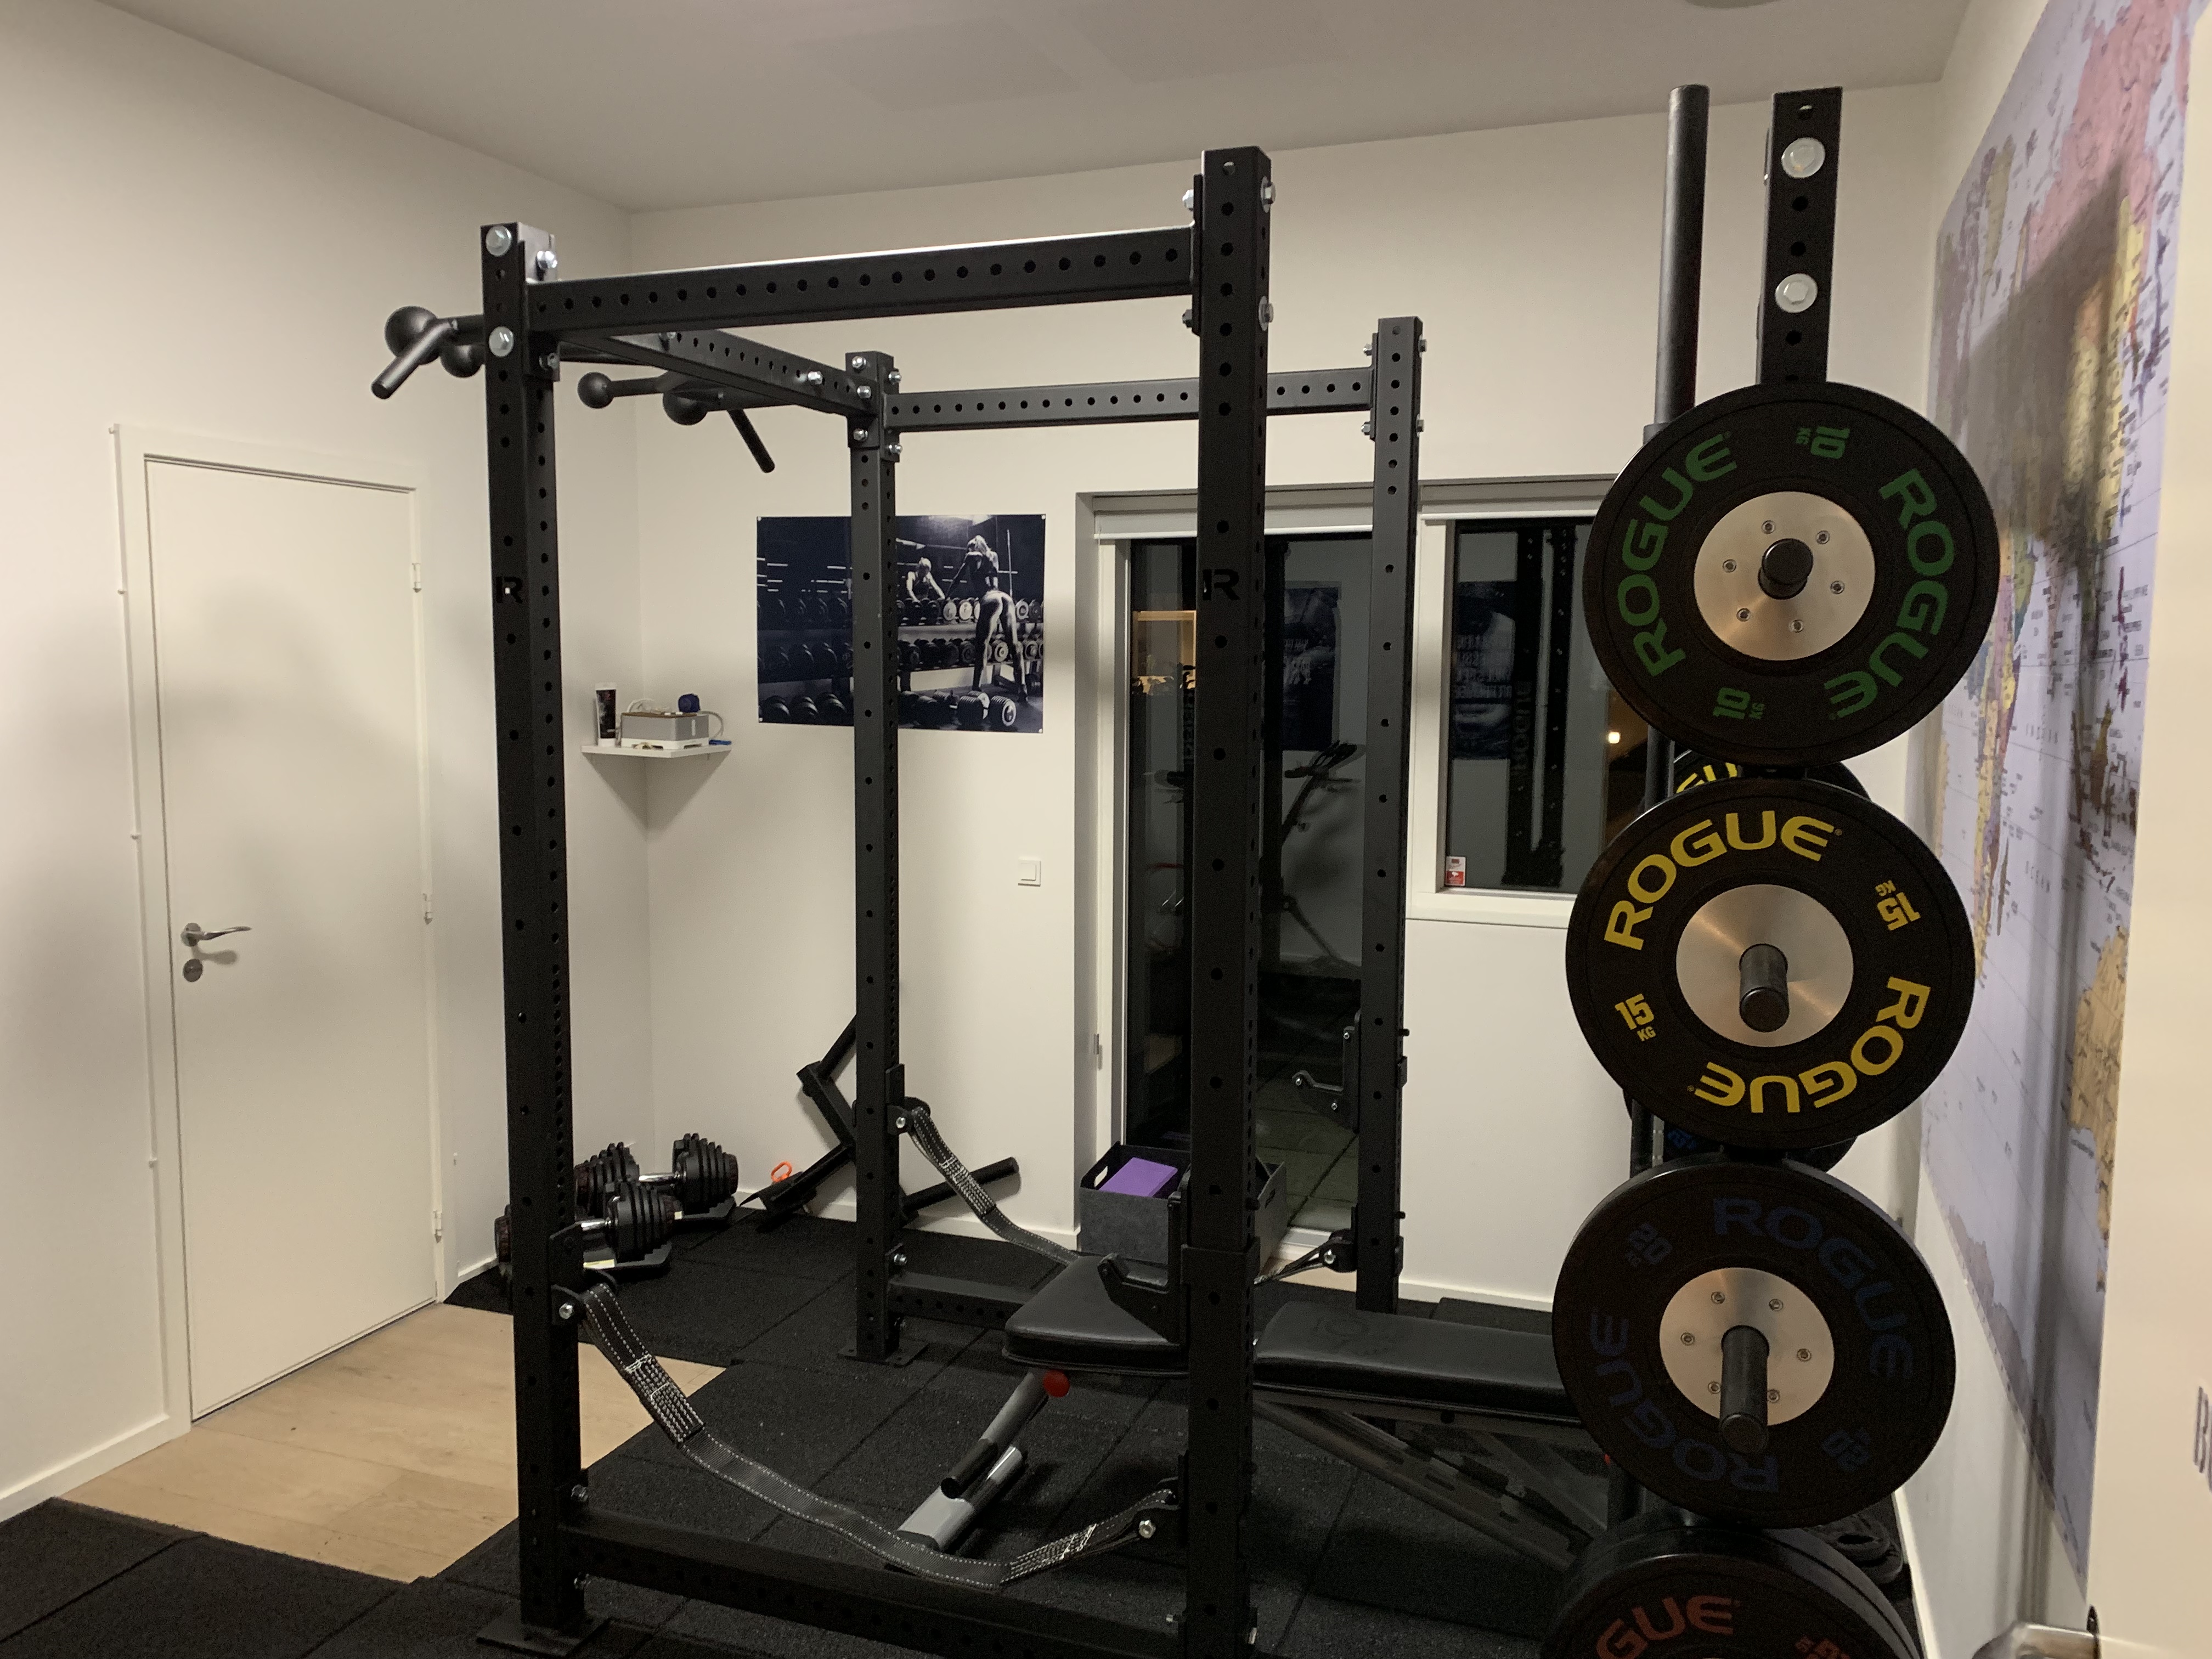 There are a few other minor bits and pieces that I got, but I guess that’s not so relevant. More important is why I chose them over other brands. The Hammer Strength kit was just ridiculously expensive, for example, and while I had my heart set on the Legend fitness stuff, I had to weigh it against the possibility that I might not be able to fit it into my next house in 1.5 years (this is a fixed-term rental). Additionally, there just aren’t as many accessories available for the Legend, though they had enough for what I thought I’d need. It was a hard call, but in the end Rogue won (hey – I saw that movie!).
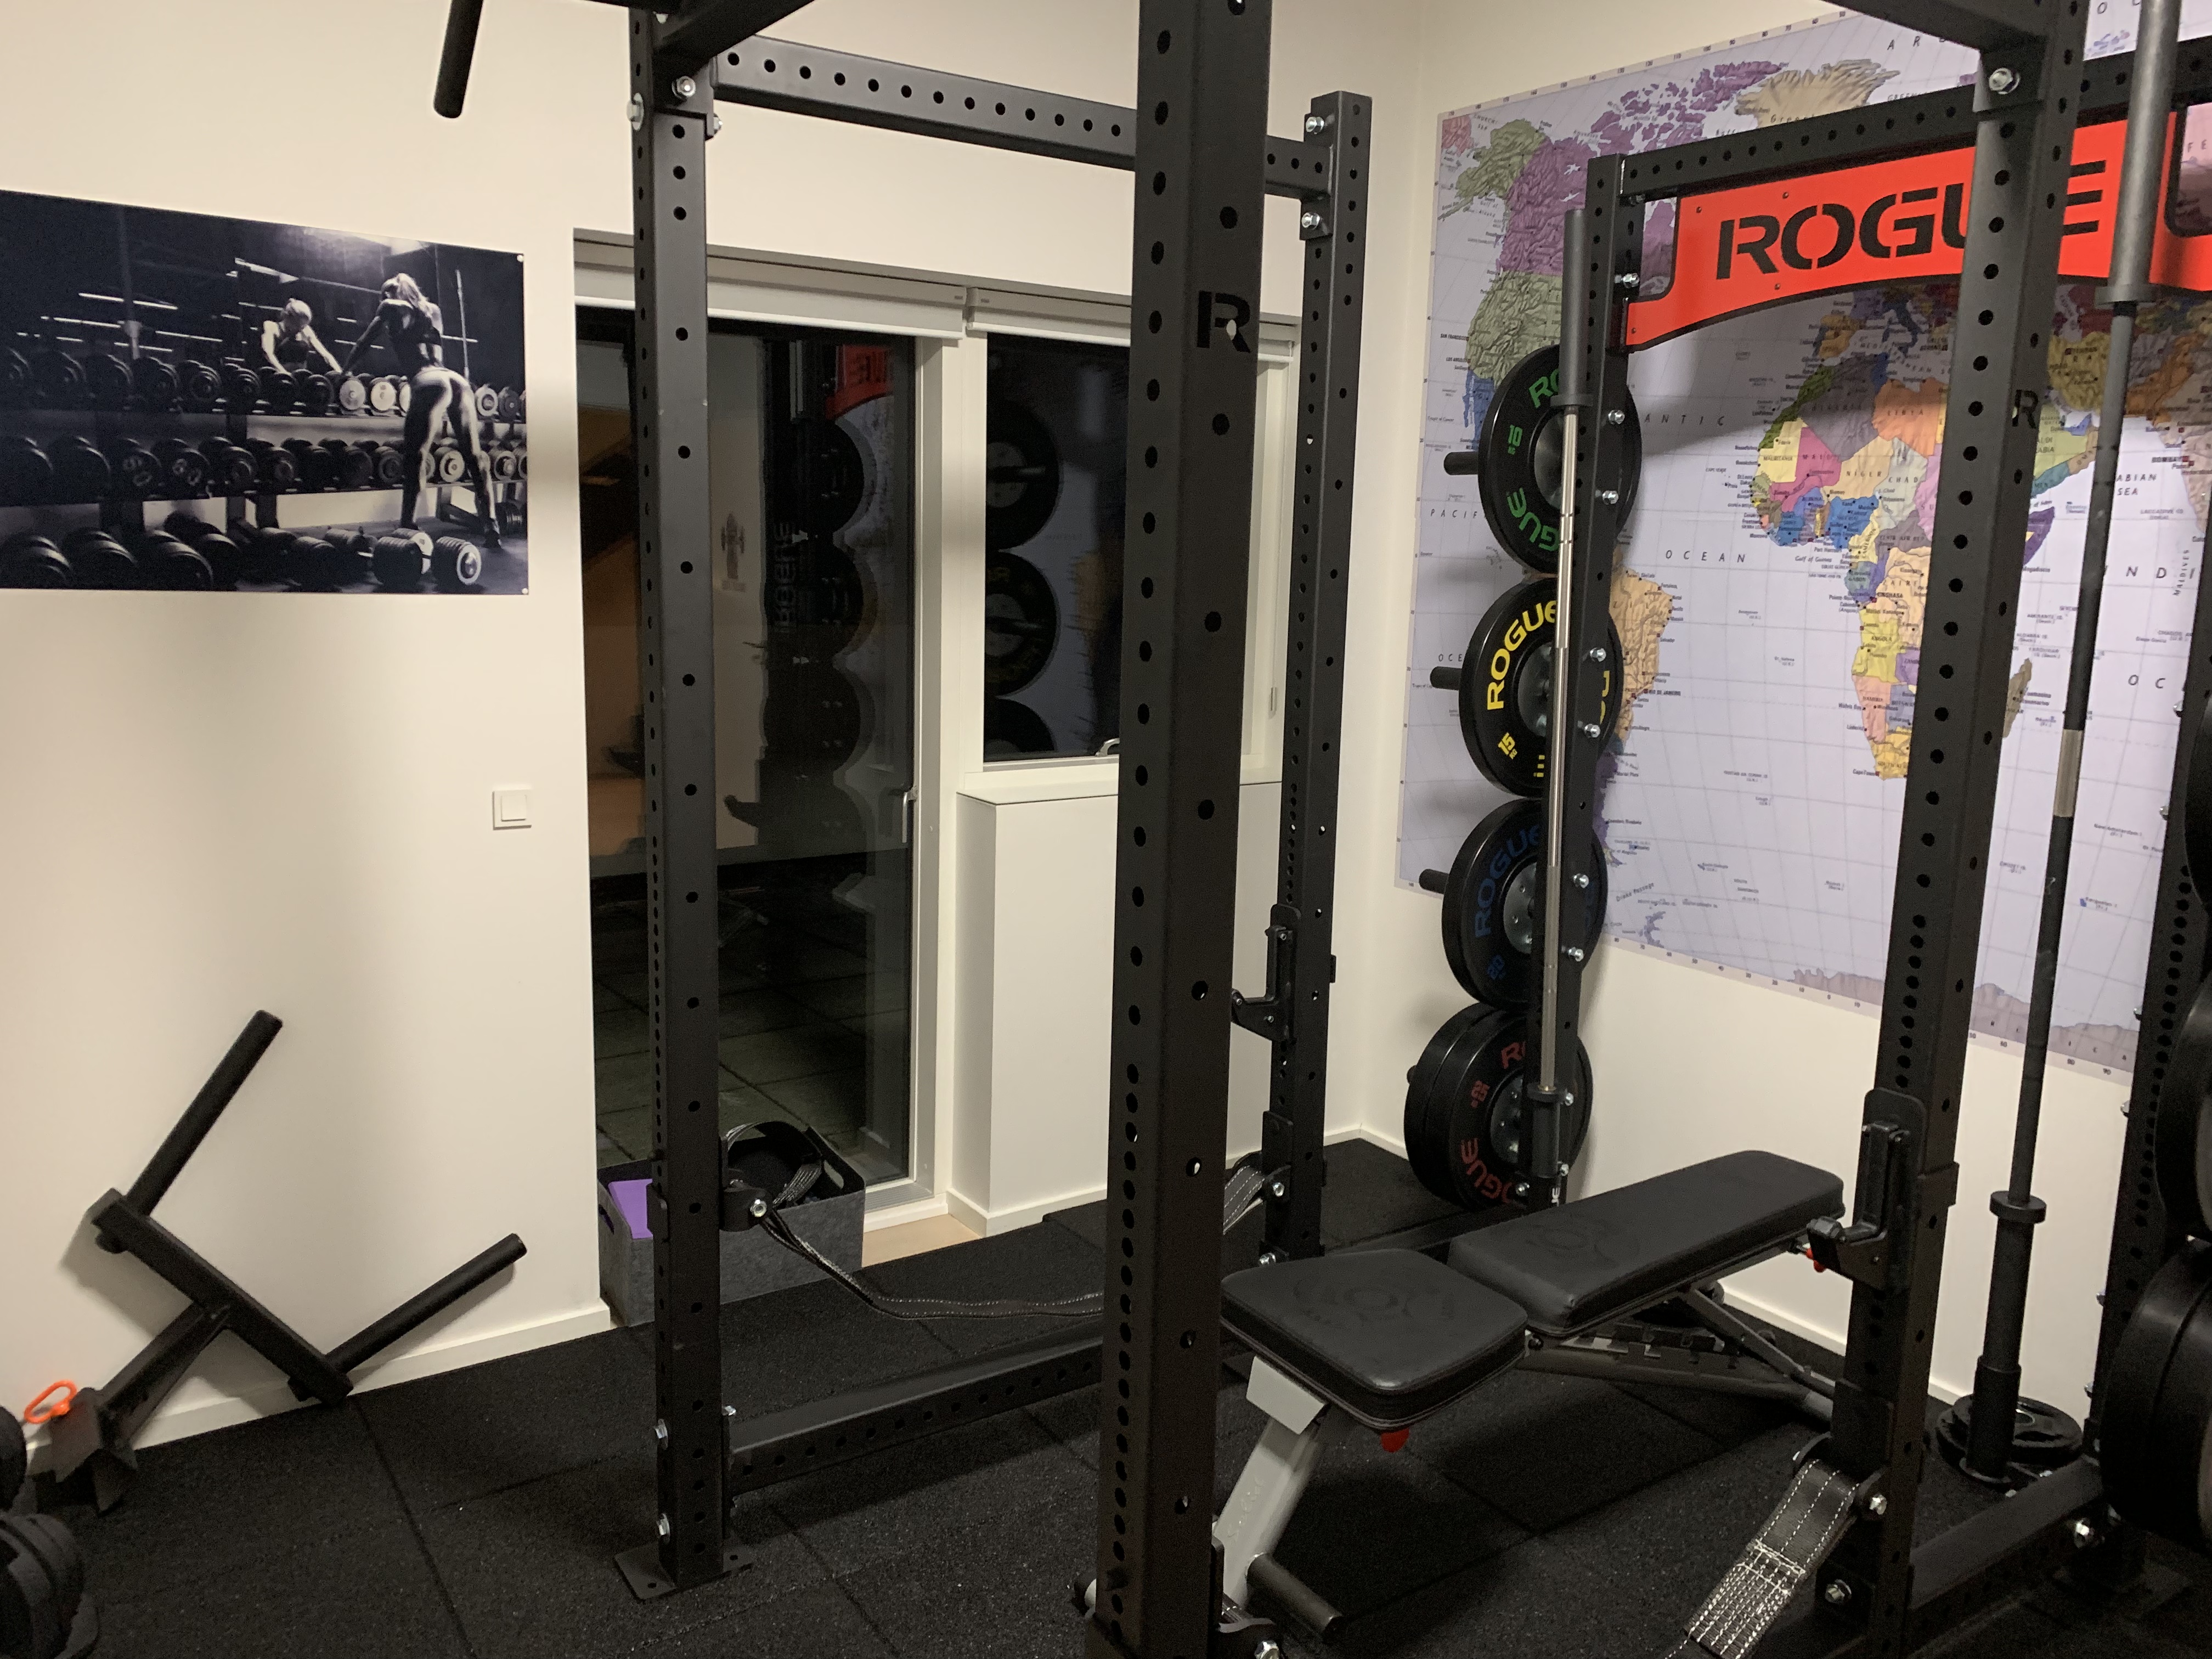 I also had to consider the flooring. While I have nice real-wood floors here, I didn’t have a desire to test their durability against plates being occasionally dropped. While I originally planned to get a platform, I felt that wouldn’t make the most effective use of the limited 3x4m space I had available. I wound up buying some really thick rubber flooring from TheGymRevolution in the UK – Matt over there was really helpful (and had almost talked me into an ATX rack, too, but I felt more comfortable buying from a company I knew of, even if ATX seems to have a good rep in these parts). The tiles were a snap to install until it came to the last edges, where I had to cut them with a utility knife and T-ruler (a piece of chalked made a world of difference, too). I think it was a good choice – the flooring is hard enough to be stable, though I could imagine that if I make it up to 400kg deadlifts I might want something more.
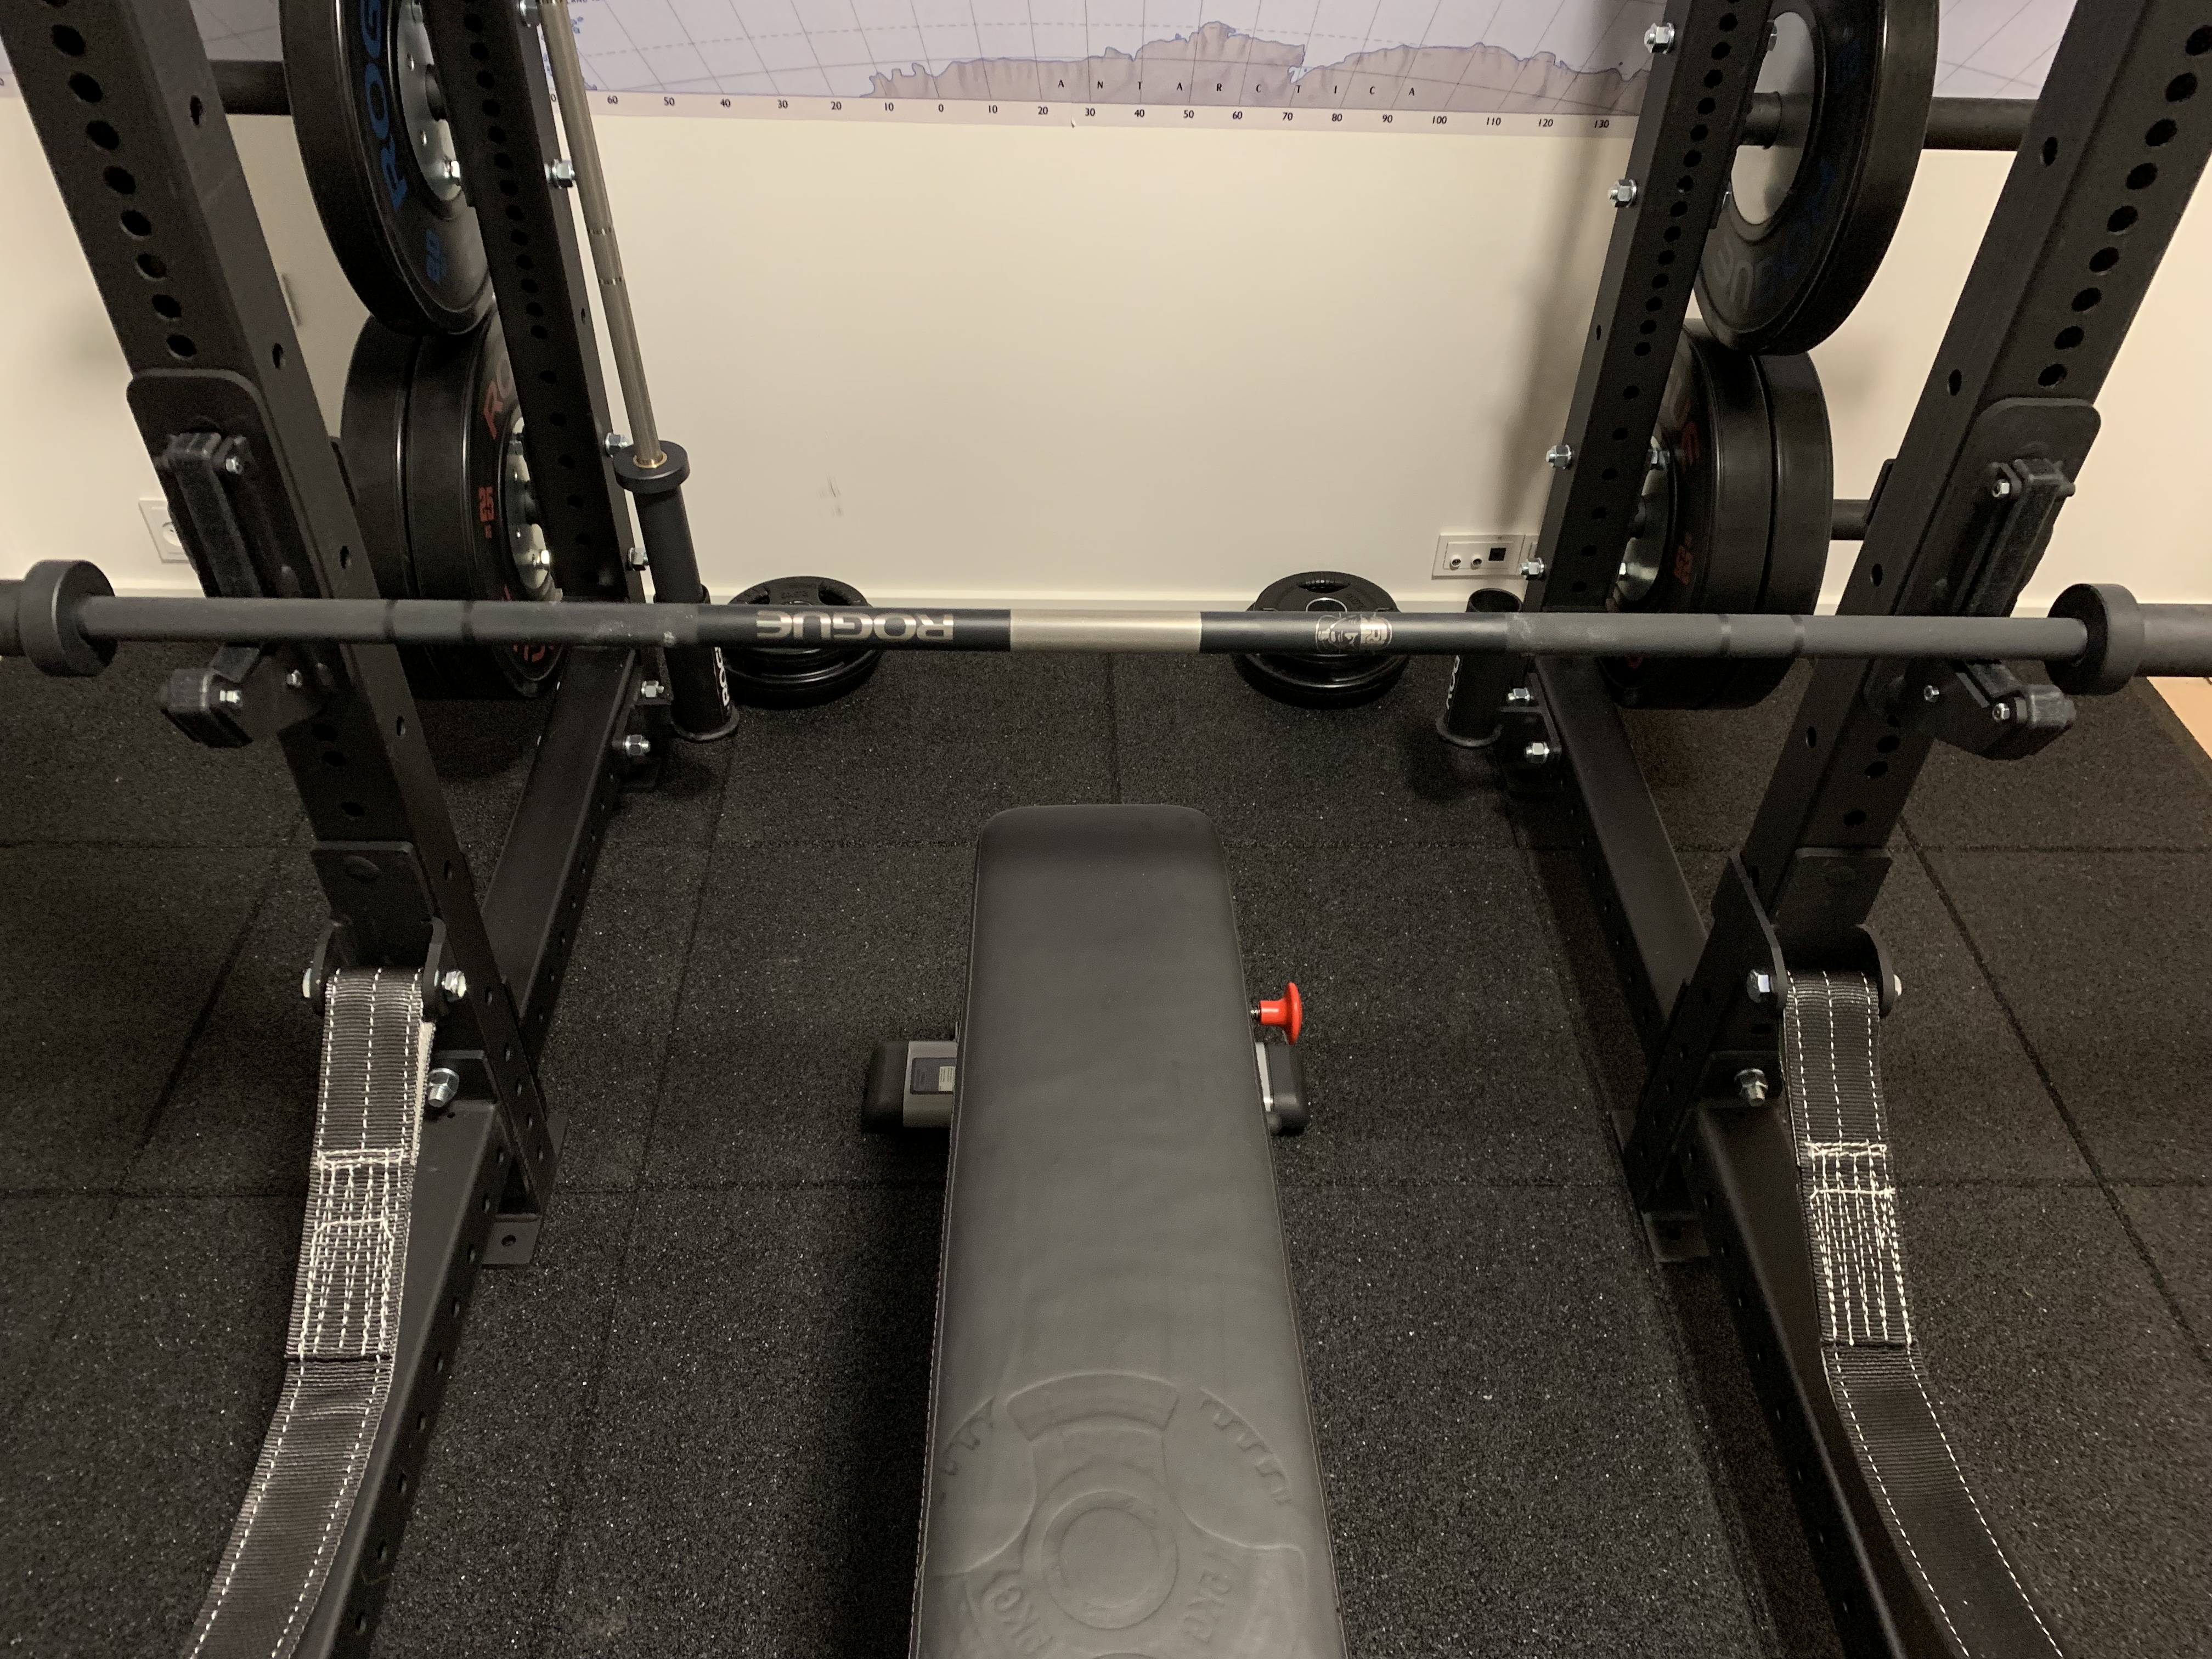 Of course, planning is one thing, execution is another. Even though I had it all set up in my head, I wound up putting the room together differently than expected. For example, while I’d measured out enough space for the rack, I didn’t really consider the greater length of the bar, which would have made the original position very awkward for loading and unloading plates due to the position of the 3 doors in the room. So I wound up moving it to the fourth wall. I also eventually realized that I simply don’t have room to do overhead presses outside the cage, and while the room is tall enough, the cage isn’t. To solve that, I removed a couple of crossmembers from the back of the cage, which actually works pretty well.
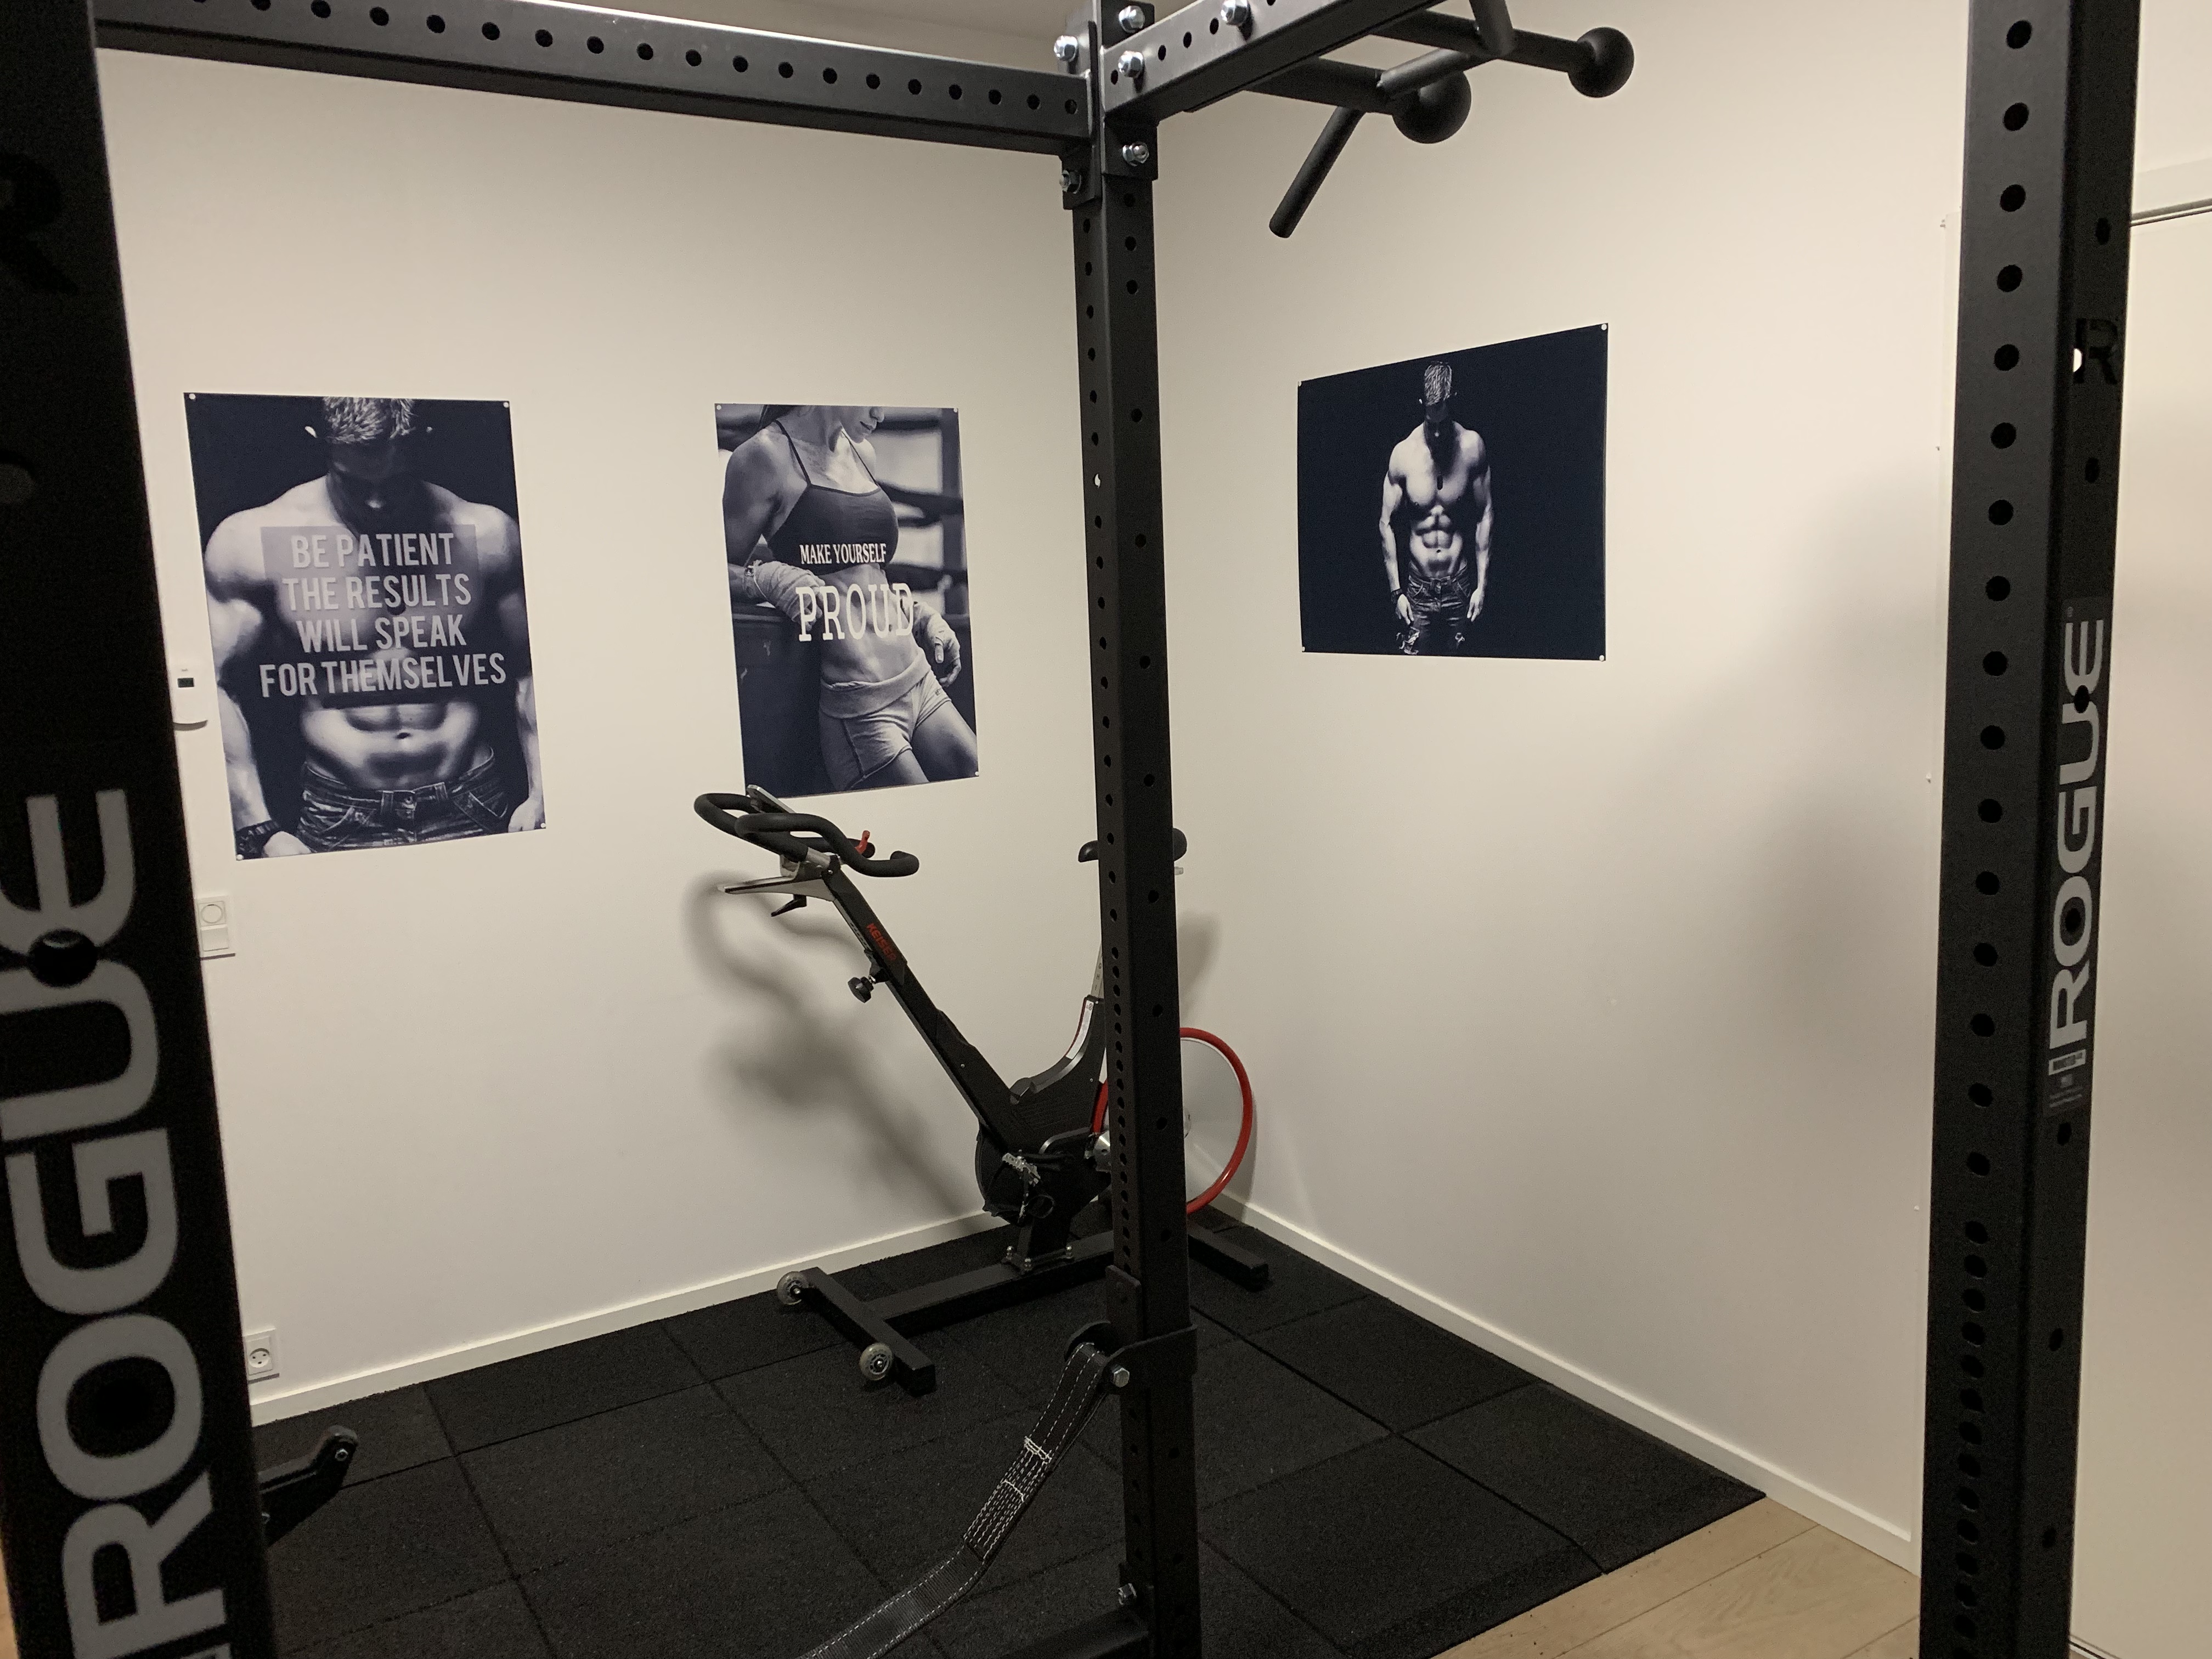 All told, it meant a few starts and restarts. I did the flooring twice to get it right (moving the rack meant moving where I’d laid down the initial tiles, as I knew I wouldn’t get around to cutting the tiles until the next weekend, and I tweaked the rack configuration a couple times. But I got there in the end! I’ve already had 3 training sessions in the partially configured gym, but now that it’s complete (including a few motivational cloth posters that I’m quite happy with), my lifts are really going to rock.
It wasn’t completely smooth, of course. The Rogue nameplate showed up chipped (Rogue compensated me a portion of the cost for that), and the barbell holders actually showed up fully rusted already on the inside (Rogue claims that’s normal and refuses to do anything because it doesn’t impact the functionality!!!). Opening some of those packages was a right pain, too, but as all the rest of the order arrived in flawless shape, I’m not complaining.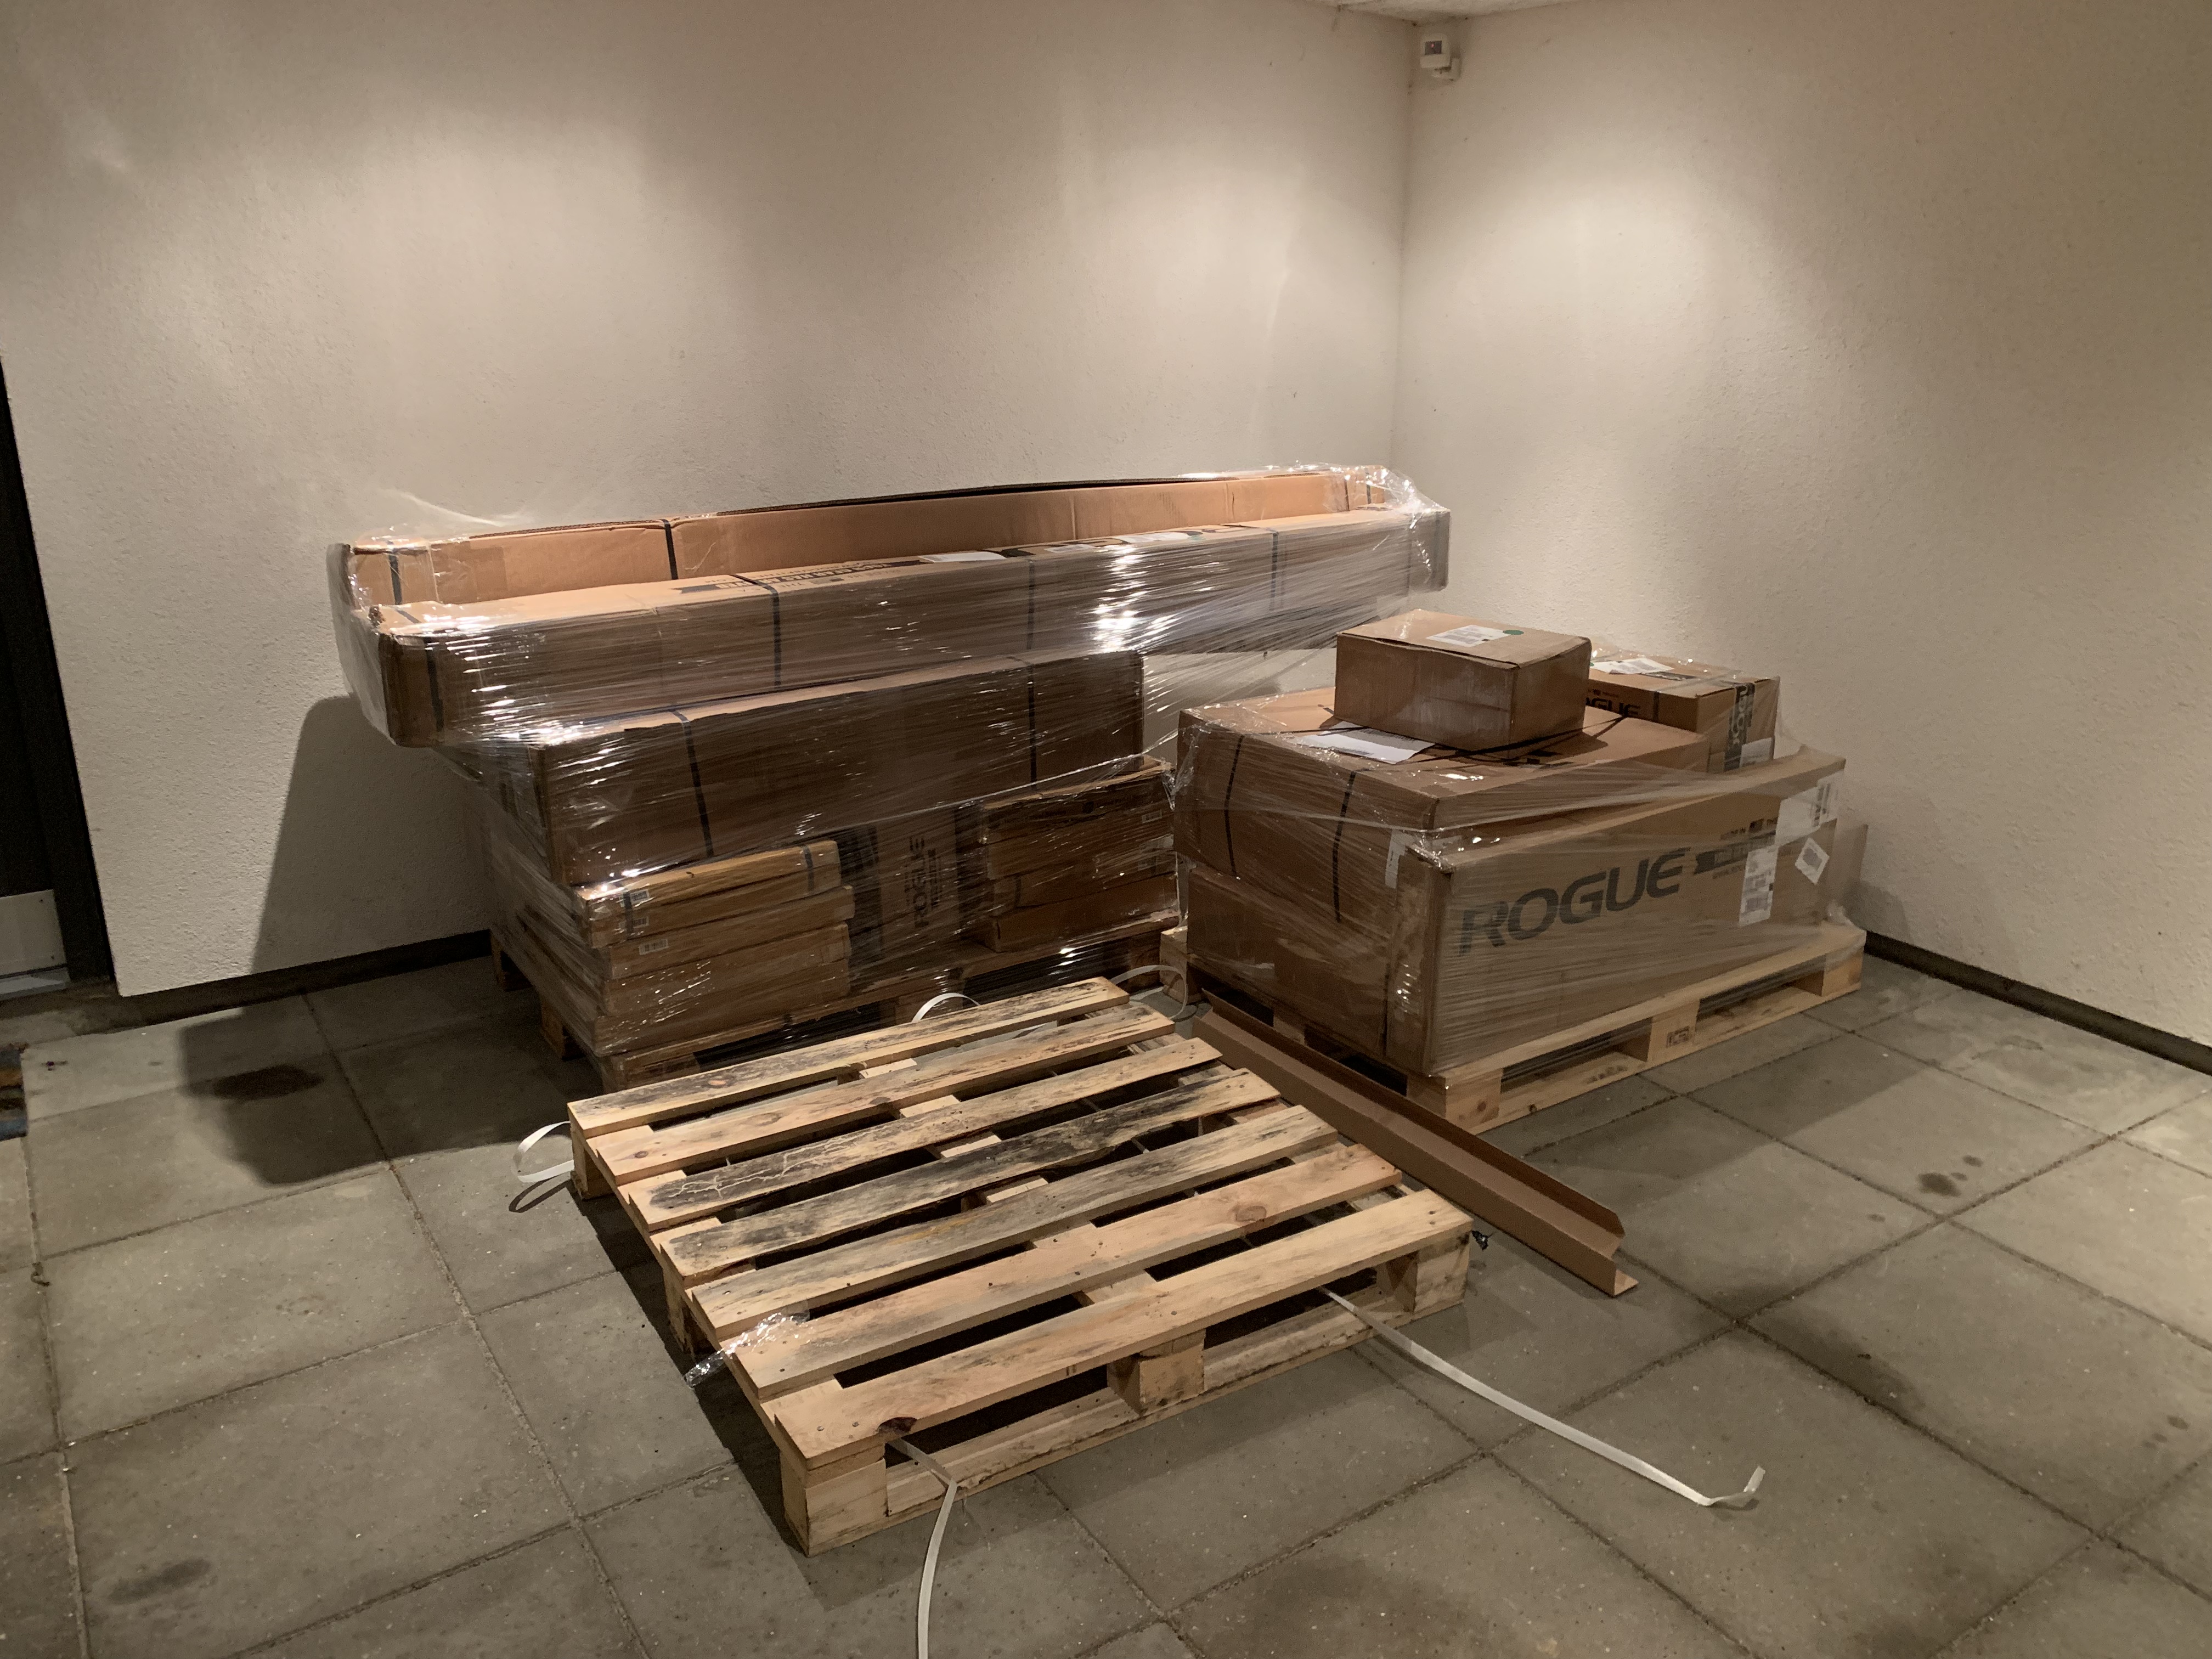
Of course, no home gym story is complete without the “before” picture, so here’s that as well.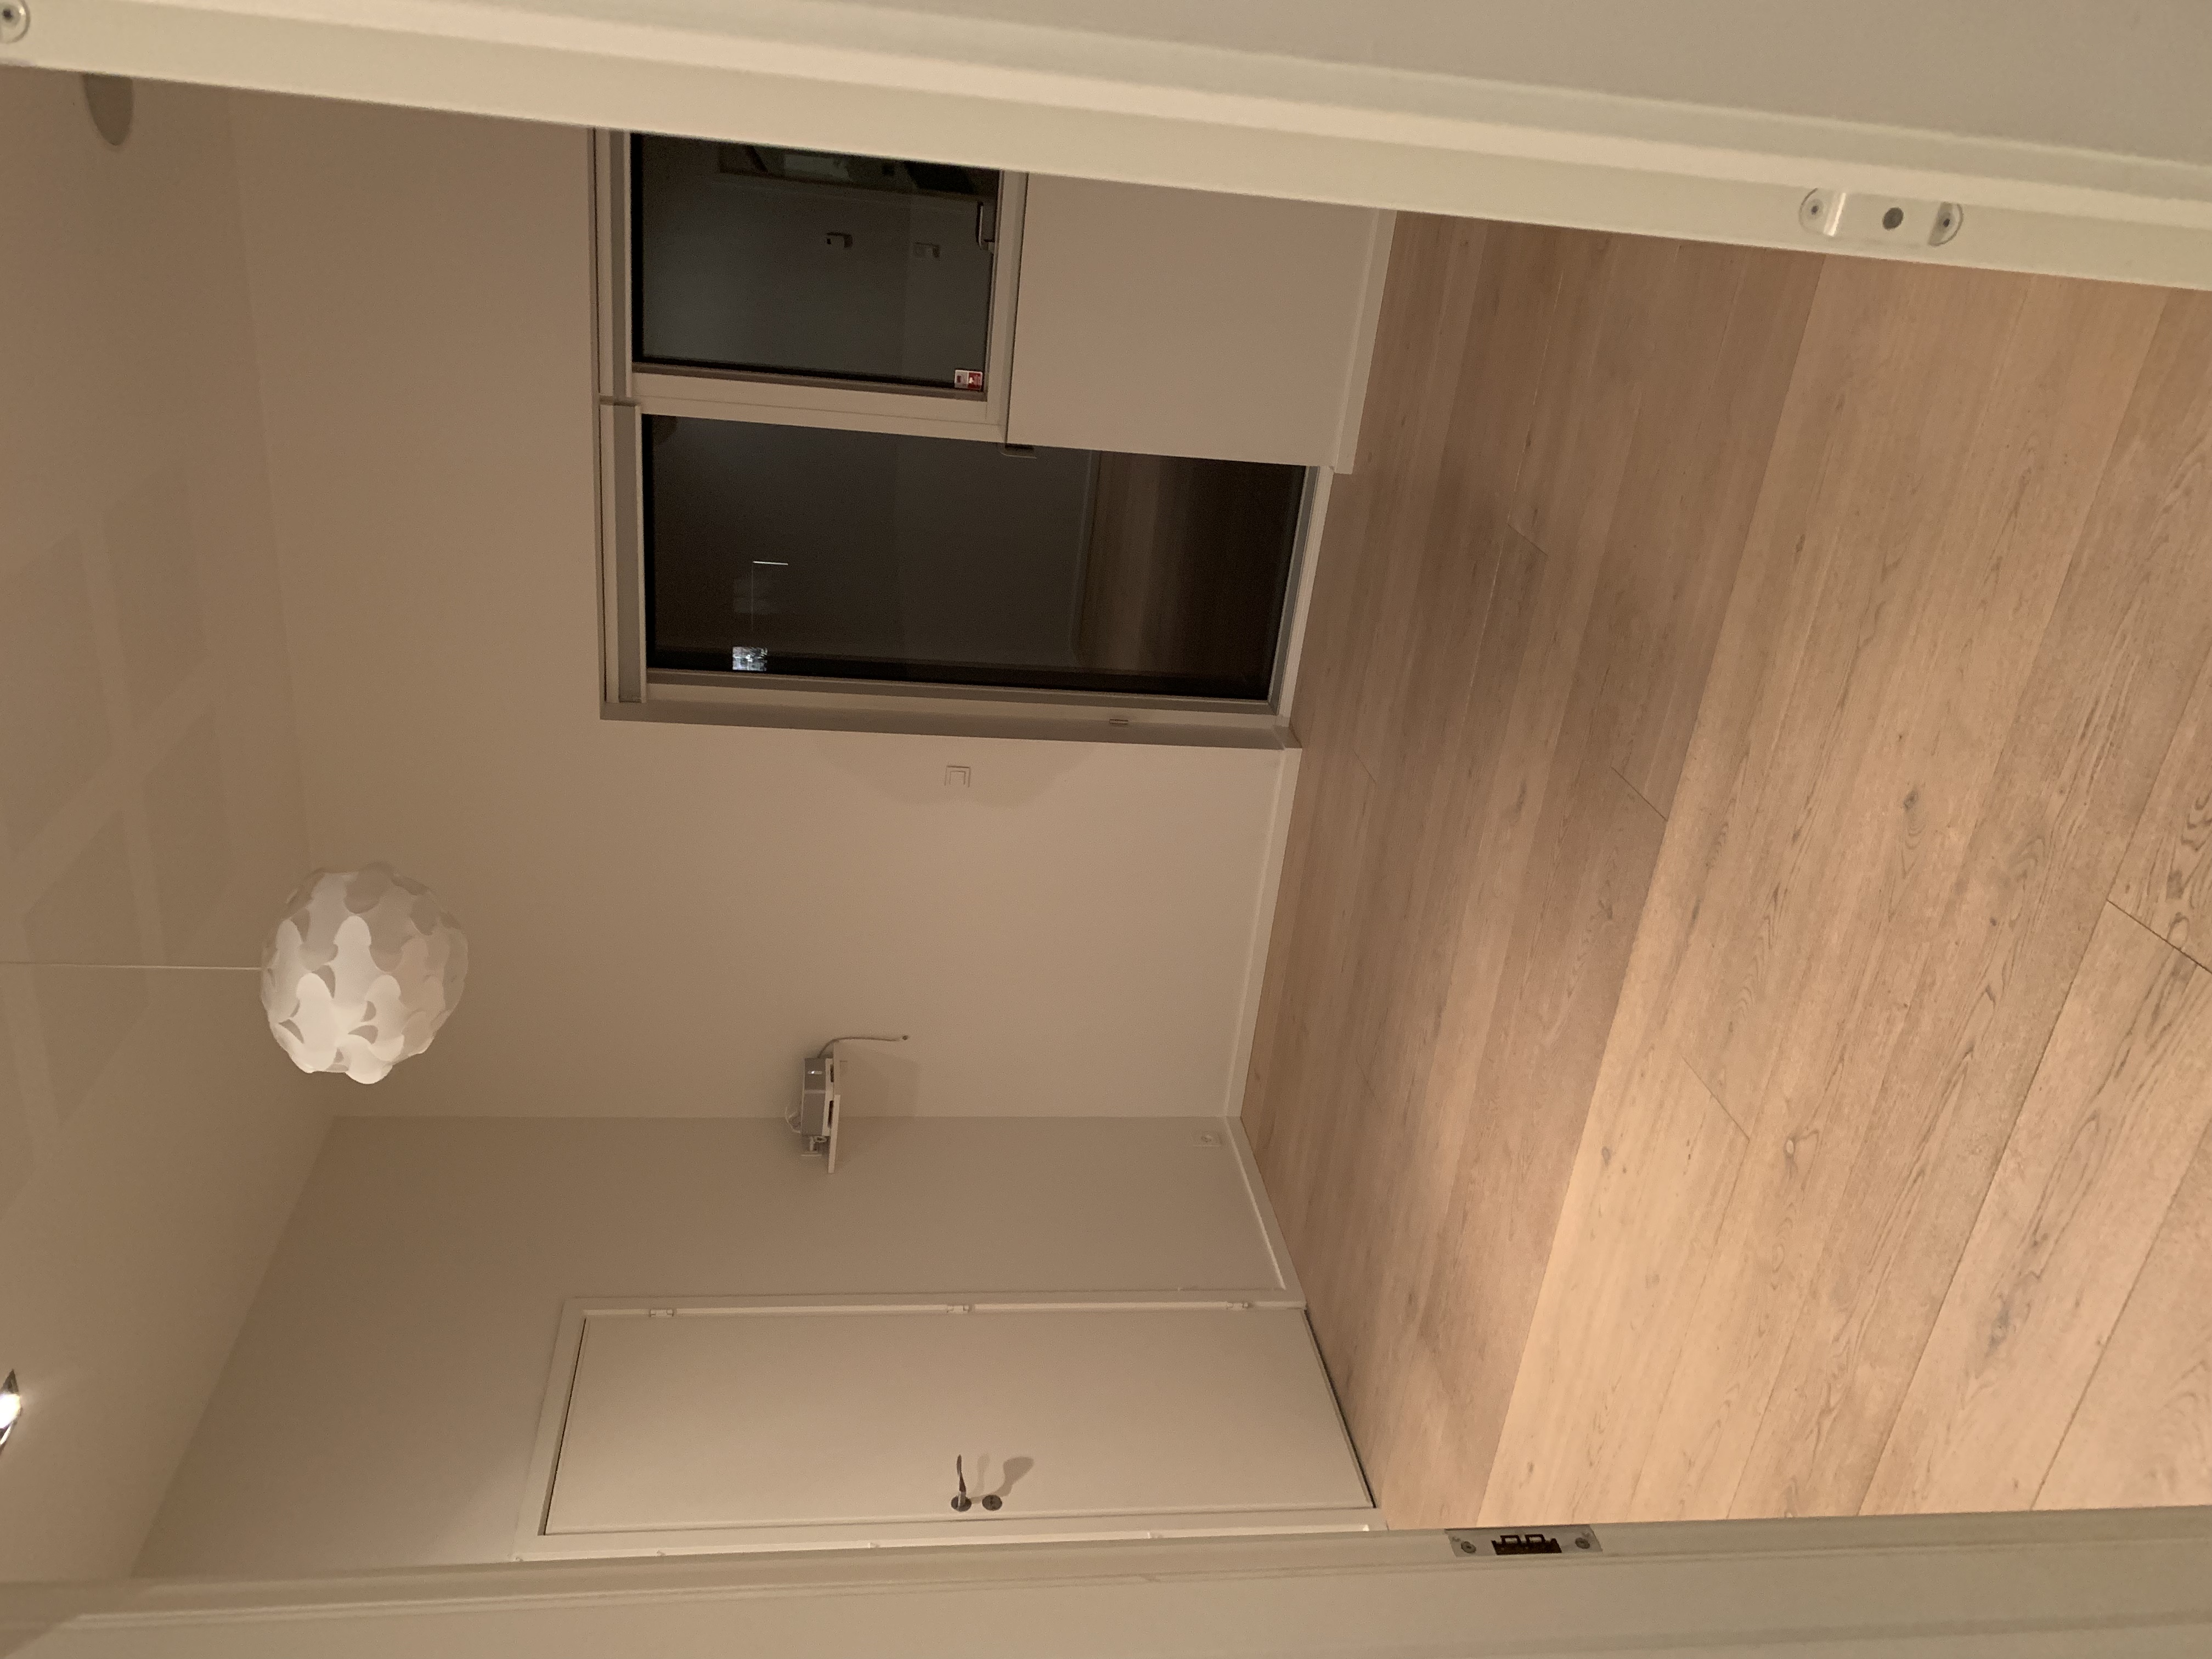
Enjoy the gym porn – I know I’m loving it!
Video walkthrough: https://youtu.be/h9M2c_i9R6Y

